Sketching 3D Views
Manufacturing 3D Objects From 2D Sketches
Sometimes 2D drawings are all that companies provide for instructions of how to manufacture a 3D object. Some companies must rely on 2D drawings because they might not be able to afford the latest in 3D modelling systems. After all, they do require a lot of hardware, software, and training. Architectural firms still use blueprints to communicate information — yes, 2D drawings on paper.
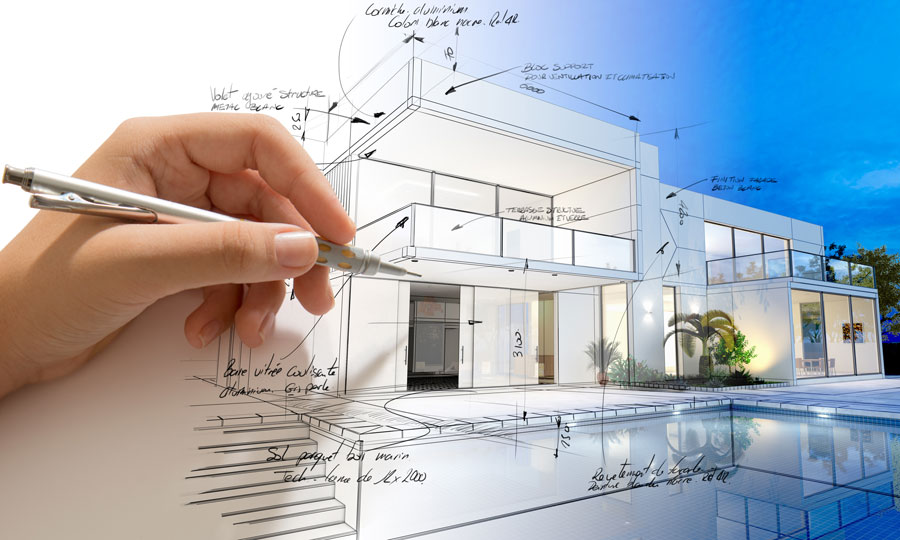
Being able to visualize a 3D model from 2D drawings is an important skill.
Source: Drafting Plans - Franck-Boston/iStock/Getty Images
Example 4
Given the following top, front, and side views of a solid, draw the 3D object on triangular dot paper.
Top View

Front View

Side View

Solution
Let's start with the front view. Using the 2D drawing, we can see that the front face of the object is a \(4\) by \(1\) rectangle. We can draw this on the triangular dot paper.

Next, we look at the top view, which looks like a \(3\) by \(1\) rectangle. We know that this shares an edge with the front face, so we draw it on the triangular dot paper with this in mind.

Finally, the side view is a \(4\) by \(3\) rectangle, sharing edges with both the front and the top faces.

Again, we can draw this in we have now drawn this 3D object on triangular dot paper and recognize it as a rectangular prism.
Try This Problem Revisited
Given the top, front, and side views of a solid, sketch the 3D object on triangular dot paper.
Top View

Front View

Side View

Solution
Let's start by considering the three views we are given.
We know the line on the view of the top face represents a change in depth. We can add shading to this diagram to show this in another way.
Top View

We do something similar for the side view.
Side View

The front view, on the other hand, has no line, so it's a 2D composite shape.
Front View

Adding shading to each of our three views helps us to visualize and eventually draw the object.
We now want to go ahead and draw the 3D object. Let's start with the front view. Because there are no changes in depth, we draw this shape on triangular dot paper as a two dimensional polygon.

Now we can look at the top view. The top view tells us that the object is two centimeters wide. When we combine this with the information from the front view, we know that the object has a change in depth and that the right portion of the top view is lower.

At this point, the drawing is almost complete. We can use the side view to draw in the remaining sides and confirm its change in depth.

We now have a drawing of the 3D object on triangular dot paper.
Check Your Understanding 5
Question
Use the top, front, and side views to draw the 3D object on the triangular dot paper.
Answer
Check that the image you drew is the same size and shape as the answer shown. Your drawing might be rotated or in a different location on the grid.
Created with GeoGebra. Author: University of Waterloo. CC BY-NC-SA 4.0. https://ggbm.at/BzYFcQ3N
Online Version
https://ggbm.at/BzYFcQ3N
Take It With You
A designer provides the following top, front, and side views of a 3D object.
Front View

Top View

Right Side View

Left Side View

It costs \($1.25\) per square centimetre to paint the surface of this object.
How much should the designer budget to spend on the cost of painting?